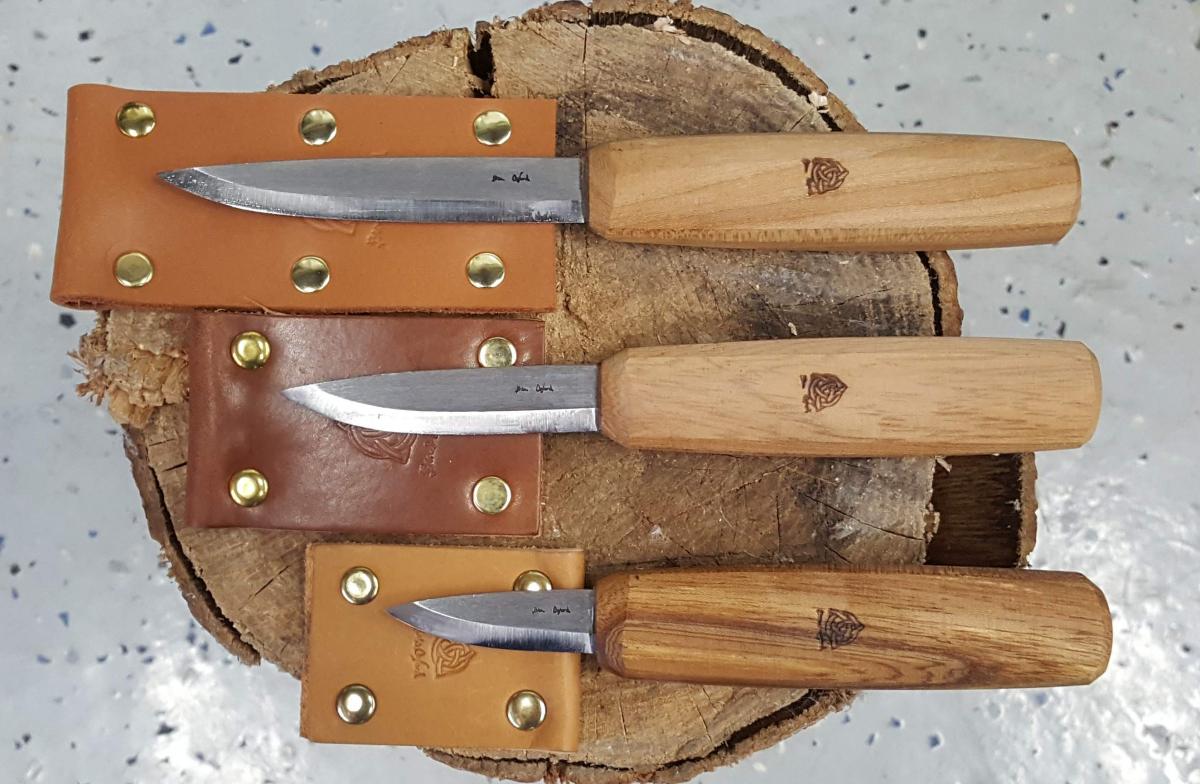
Sloyd knives like these from Ben & Lois Orford are traditional straight knives for carving spoons and other figured objects that come in a variety of shapes and sizes,https://toolsforworkingwood.com/store/item/OR-SLOYD.XX
Last time we took raw stock and turned it into a very rough spoon shaped object. This time now that you have your spoon roughed out, it is time to turn it into, well, a spoon. Carving your final spoon is basically the same process as roughing out a blank - you are removing material and shaping what is left, just with more detail and precision. This usually calls for some slightly different tools and techniques than you might have been using until now.
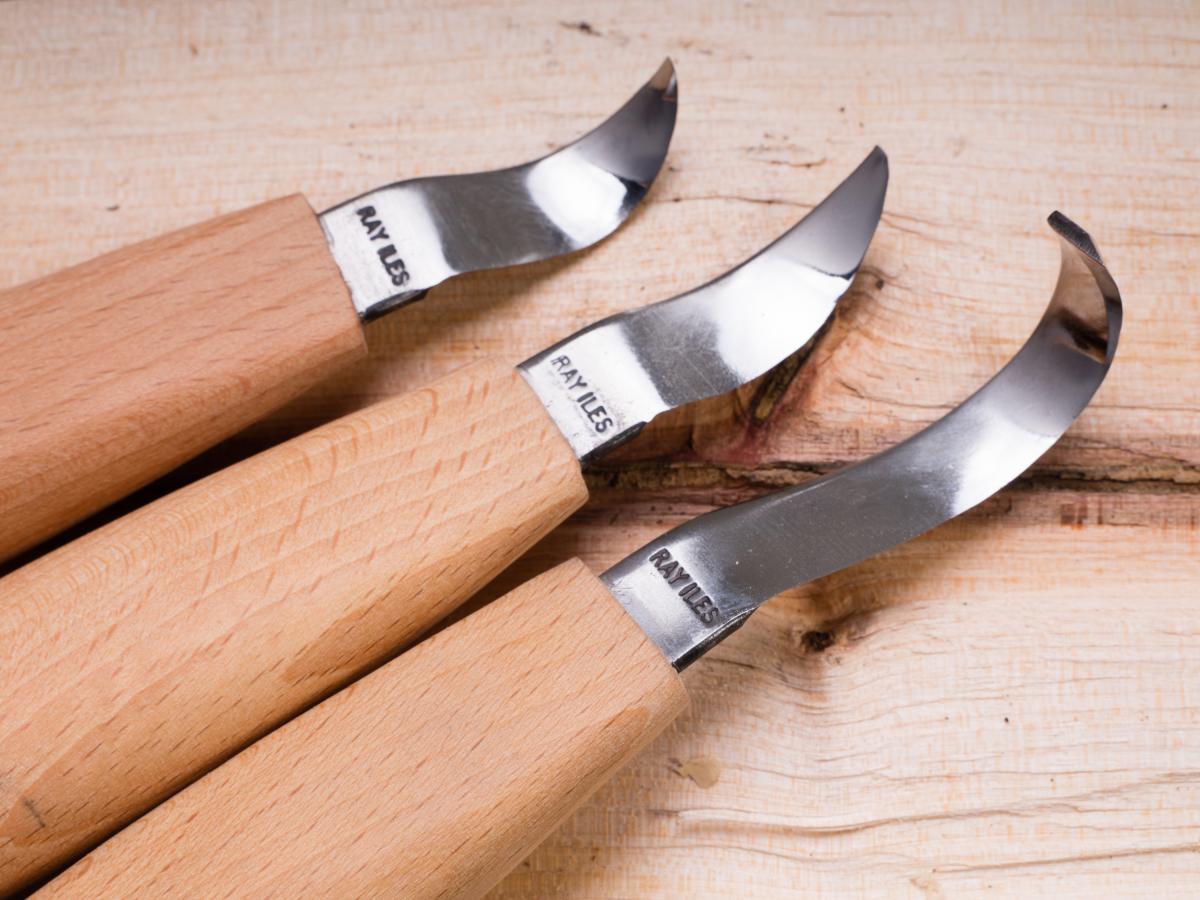
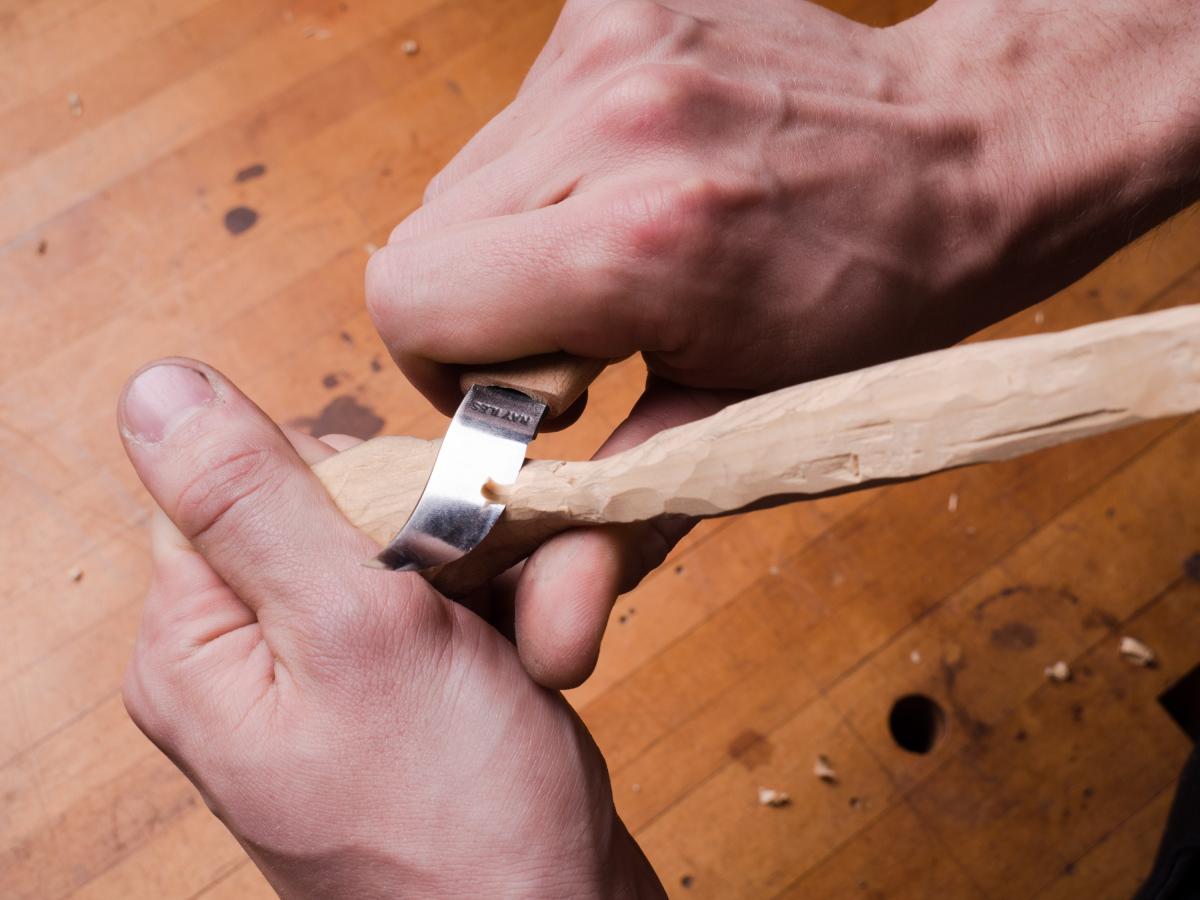
The primary tools you will need are a hook/crook knife (a knife with a curved blade) to carve out the bowl of the spoon, and a straight carving knife of some kind for the rest of the spoon. Another option for the bowl is a carving chisel. There are spoon chisels with a bent back to more easily carve out the bowl of a spoon, and it really comes down to personal preference whether you go with a carving chisel or a knife. And there are a number of other techniques and tools you can use as well - whether preference, budget, access or sheer creativity!. I have seen people get to a 99% finished beautiful spoon with a carving hatchet and I have seen the most delicate Irish love spoons carved with a powered rotary tool like a Dremel.
These spoon carving tools are made by Ray Iles and highlight some of the different curve depths on hook spoons,https://toolsforworkingwood.com/store/item/MS-RISPN.XX
Making your cuts
As mentioned earlier, I won’t be going into details about techniques and different cuts here. There are plenty of on-line and off-line resources for that including online groups, books, youtube videos, and a lot more. I have linked to some of my favorites below.
I do however want to remind everyone about safety as it relates to spoon carving. Here are a few key points to keep in mind, and please share more below in comments.
This is from a previous blog comment courtesy of Jeff K, and I couldn’t have said it better myself. “Always mentally draw a line from the edge of your blade—whether knife or axe or saw—and make sure no body parts cross that line. Remind yourself to tuck those fingers in, adjust your grip, etc. ”
When using a chisel or hook knife on a bowl, one safety technique is to hold/cradle the spoon in a folded towel as an extra layer of protection between your hand and the blade. Additionally, there are a number of carving gloves and finger guards available as safety gear.
One critical tip I learned early on from a more experienced spoon carver in a spoon carving meetup (remember meeting people in real life before COVID? Feels almost quaint now. Stay safe all!). He watched me for a minute and saw that I was putting a lot of power into my cuts. He stopped me and explained how that is a common mistake made by beginners - to try and carve the whole spoon in basically 3 cuts. Not recommended for safety and other reasons. Stay calm, be aware of how much power you are putting into your cuts, and as with most woodworking, let the tool do the work. Remember of course that sharp tools take less force to use and are therefore safer.
Remember, it isn’t “safety first”, but “SAFETY ALWAYS!!”
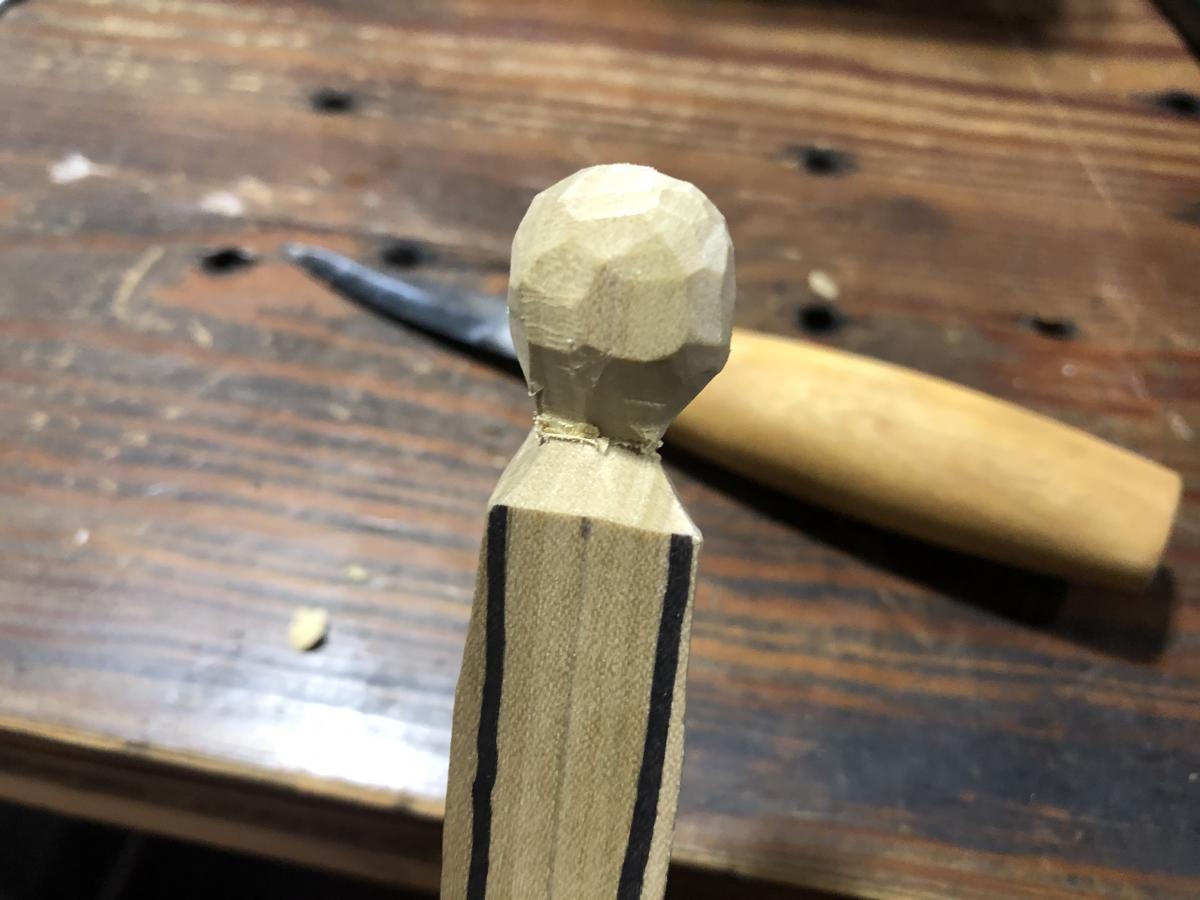
By looking at some of the resources for carving techniques below and by finding your own, you can get your spoon to pretty much finished (completed) and ready to finish (put finish on). But there is one other structural piece that I have rarely if ever seen explained in spoon carving 101 - finials and other aesthetic additions that are carved, as opposed to finishing techniques we will discuss next time.
Finials and other flourishes are great - they are often simple to do and great practice for different carving techniques. A finial is basically any additional flourish at the handle end of the spoon - they can be a simple disc or ball, a small heart or other shape, or can be as fancy and detailed as your heart desires. In the ongoing interest of reminding you all that we all start somewhere, I humbly share the first finial I ever carved on a spoon handle. Now this shot is not of the not-yet-at-that-point-finished finial, so still a bit rough, but hopefully gives a sense of what we are talking about.
So have fun, be safe always, and next up we discuss finishing! How to put a finish on your spoon to protect and decorate as you want.
Additional resources for spoon carving techniques and cuts:


 Joel's Blog
 Built-It Blog
 Video Roundup
 Classes & Events
 Work Magazine